The Dreaded Tack Cleaning...
When it comes to tack care, there are two types of equestrian. If you clean your tack after every single use, top marks for you! But all too often we’re too busy (or that’s our excuse). So, we put it to the back of our mind and avoid it as-long as possible. It’s easy done and while we appreciate that it’s not the most enjoyable job, it’s actually very important.
Tack Care - Why?
We put our horses tack through lots of abuse, expecting it to withstand rain, sun, snow and freezing tack room temperatures, yet we often pay little attention to the care of it. Well worth a little time and elbow grease, proper tack care can make a real difference. All about doing a little but often, it doesn’t have to be a time consuming or boring task.
Longevity
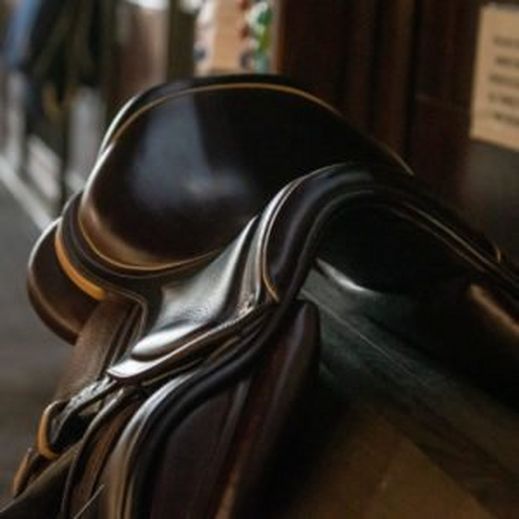
By wiping away dirt after every use and undertaking a monthly deep cleaning session you will not only improve the condition and appearance of the leather, but also the longevity of your saddlery. Once in use unkept leather can become dry, cracked and split. Textured and uneven, affected areas can house dirt, grease, water and sweat. This weakens and damages the collagen and protein fibres found in the leather, eventually causing irreparable damage.
Appearance
Those who compete will know how important it is to have clean tack in the show ring. But it’s just as important for the rest of us too! After-all, we go to great lengths to keep our horses looking there best, so their tack should too, right?
Comfort
Tack care isn’t all about how saddlery looks and how long it lasts. When used repeatedly, grease and dirt can build up on the inner side of the leather. . Without proper cleaning, this can leads to rubs, sores and discomfort where it comes into direct contact with our horses skin.
Deep Cleaning
If you’ve not been at the top of your tack care game, a deep clean is a must. Before you get started you’ll need:
- A saddle stand.
- 2 buckets of warm water.
- Sponges.
- Tack cleaner.
- An old cloth.
- A towel.
- A hoof or face brush.
For leather saddlery you’ll also need:
No matter what type of tack you own, preparation is key, so:
- Gather your equipment and saddlery.
- Prepare your bridle and saddle –
- Saddle: Remove the saddle pad, girth and stirrup leathers. Take the stirrup irons off the leathers and the treads off the stirrup irons.
- Bridle: Unfasten all buckles and separate into the individual parts.
- Stirrup Treads: Place the stirrup treads in one of the buckets and allow them to soak, this will make removing any dirt easier.
- Bit: Providing your bit is not sweet iron, place it in one of the buckets and allow it to soak.
- Wipe Down: Dampen your sponge ensuring to remove any excess water. Wipe down all the parts to remove the worst of the dirt and grease. Allow the tack to dry naturally.
Leather Tack
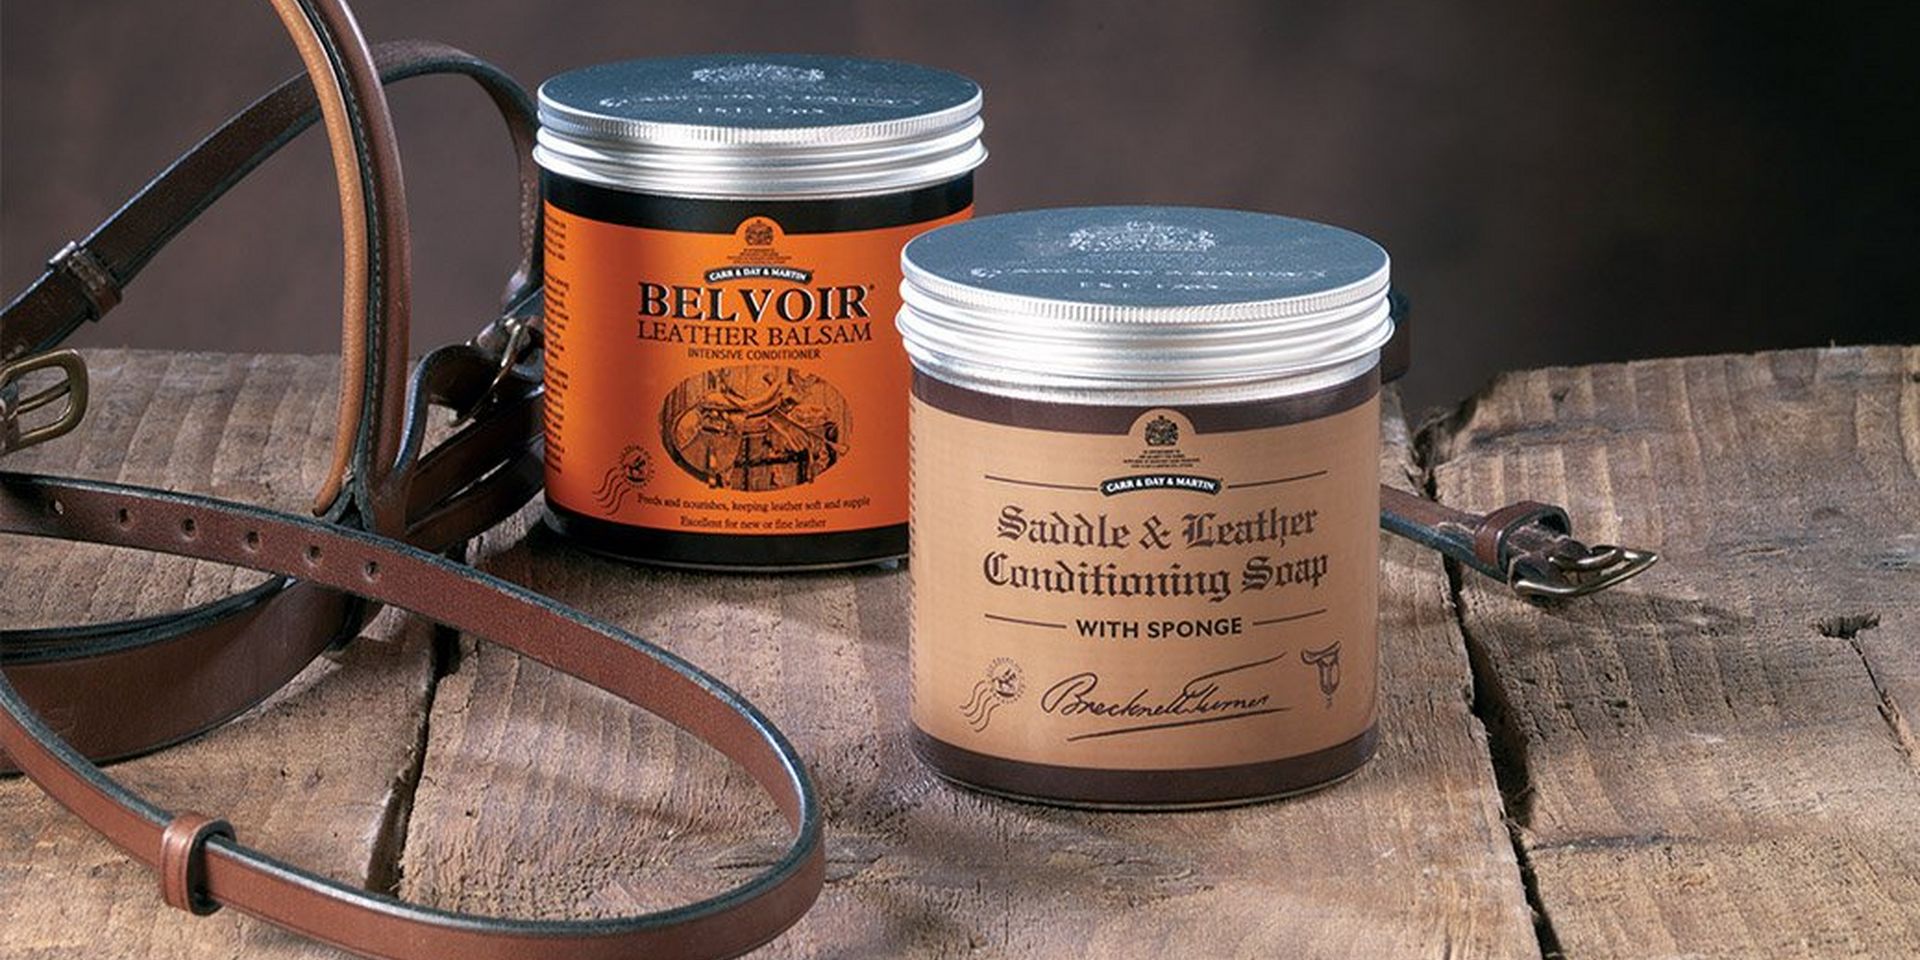
- Clean: Using a damp sponge work your chosen cleaner into the leather. This will remove any stubborn grease and dirt.
- Condition: Buff a small amount of conditioner into the leather. This provides moisture and creates a nice shine.
- Oil: Neatsfoot oil is a deeply nourishing substance, ideal for rescuing dry and cracking areas and improving suppleness. Using a hoof oil brush or cloth, apply it to the flesh side of the leather. Do not use for aniline, untreated, suede or nubuck leather.
- Allow the leather time to rest and absorb the products added.
- Before assembling, buff lightly to remove any residue from the surface.
Synthetic Tack
- Clean: Unlike leather, synthetic materials don’t require nourishment. The cleaning process is simply about removing dirt. Liberally apply a synthetic tack soap or mild soap and gently scrub away stubborn grease and dirt.
- Once clean allow to dry naturally, away from direct sunlight.
- Before use, buff lightly with a cloth to remove residue.
While synthetic materials are hardier, try not to be too rough or get them too wet as it may damage the stitching and rust the fittings.
Synthetic Tack CareReassembling
Top Tip: If your unsure which way something should be attached, billet hooks should always face towards your horse whereas buckles should always face away!
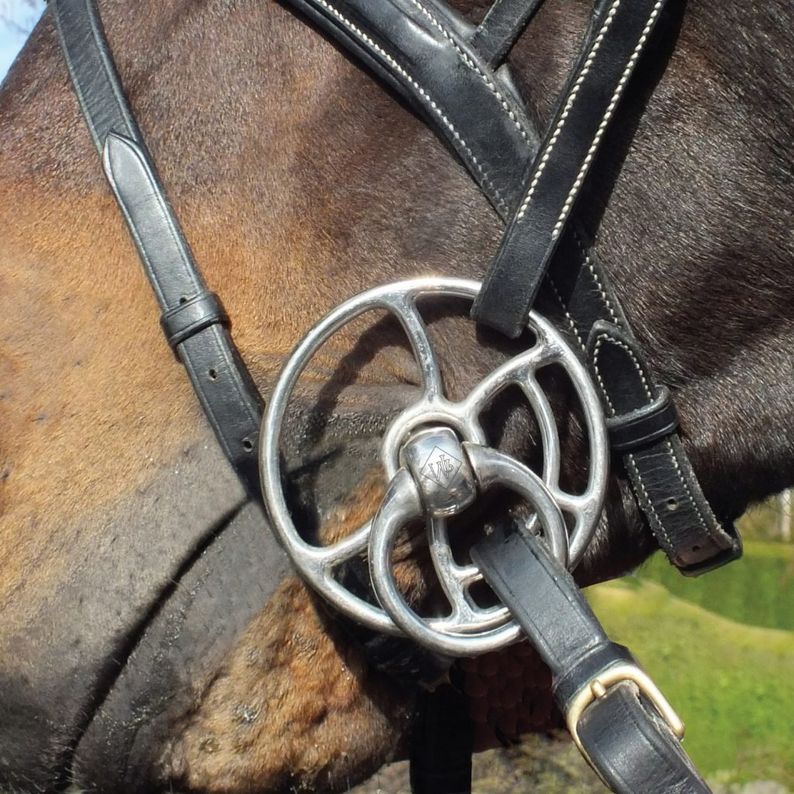
The Bit
Your horses bit will be anatomically shaped, designed with a curvature that sits comfortably in the mouth.
Before putting the bit on the bridle, check it’s facing the right way. When correct, jointed bits should close without resistance. Play around with it, one way it will shut but the other it won’t. Once you know you have it closed correctly, attach the bit to the bridle so that it’s sticking out towards you.
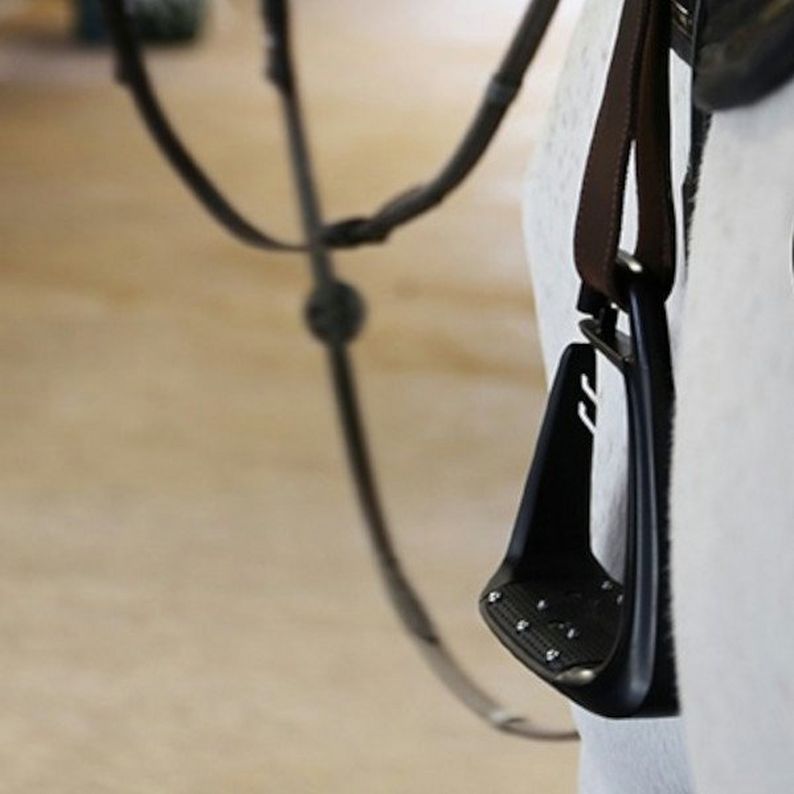
The Stirrups
Safety stirrups have a bent leg, rubber band or flexible branch on the outside, which allows the foot to slip out a lot easier in the event of a fall.
Attaching them the wrong way will cause them to dig into your thigh, so it's worth taking the time to get it right!
To reattach them correctly, place the stirrup down on the floor facing horizontally. Ensure the safety leg is on the outside, away from your saddle. Thread the end of your leathers through the eyelet at the top of the irons, working from front to back. Leaving the iron on the floor, fasten the buckle and slide them back on to the stirrup bars of your saddle.
Daily Maintenance
Once your horse’s tack is back to looking as good as new, you can focus on keeping it this way!
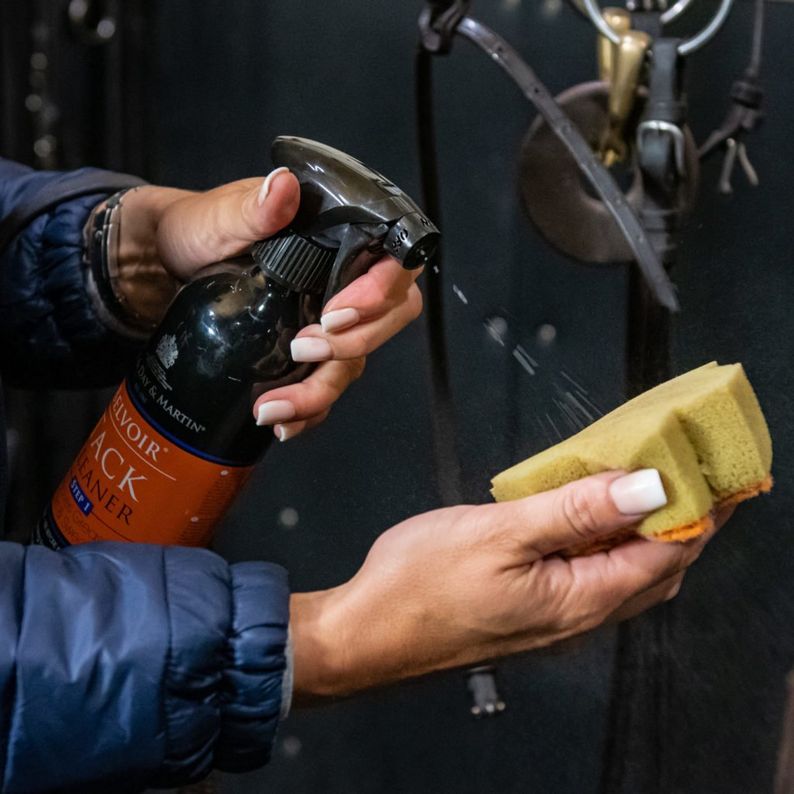
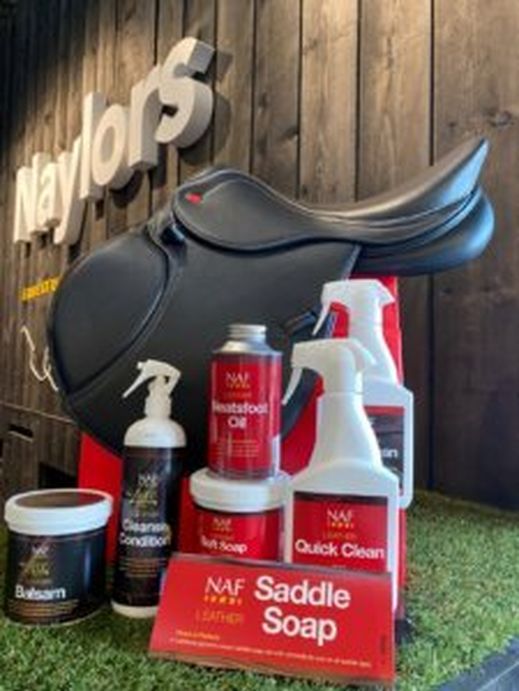
Quick clean sprays, wipes and combination (clean and condition) soaps are perfect for daily use. Fast and effective, they’re a tack room essential. During maintenance there’s no need to worry about taking your tack apart. Wipe away dirt with a damp cloth and then apply your products.
Top Tip: Don’t be tempted to clean leather without conditioning. Just like our hair, this can strip away essential oils, leaving it brittle and dry.

Ensure you give your horse’s bit a quick clean after every use by running it under a tap and wiping it with your hands. A clean bit is far more pleasant for your horse to wear. Ready for it’s next use, try applying Bit Butter. Enriched with Mango, Shea Butter, Peppermint Oil, Soya Oil, Vitamin E, Bees Wax and Jojoba this encourages acceptance, improves focus, softens hard skin, prevents rubbing of the mouth and helps to heal.
Bit ButterNew Leather
Tack can be an expensive investment, so it’s important to look after it. New leather can feel stiff, as it’s yet to soften. Most new tack will benefit from a layer of oil before use. Apply one layer to the top and two layers to the underside. This may not be needed if the leather is “pre-oiled”.
Tack Care For Damaged Leather
Water Saturated Leather
Where possible, avoid getting leather wet. Water can cause serious damage to the fibre sub-structure in the leather.
What happens to the fibres?
- When waterlogged, the inner fibres stretch to accommodate the water.
- The leather is weakened as the fibres are distorted.
- When the leather dries the conditioning oils evaporate leaving the fibres with no lubrication.
- The fibres clump together leaving the leather stiff and dry.
Ensure you clean and lightly condition wet leather, while it is still permeable. Allow your tack to dry naturally. Even if you’re in a rush, never use intense heat. This can remove almost all the moisture causing stiff, cracked and dry leather. Once dry, add a coat of oil. This will help to nourish and create a barrier against further damage.
Dry & Cracked Leather
For extremely dry tack an intense conditioner is needed. Covering your tack in an oil such as Neatsfoot Compound will feed the leather fibres, helping them to strengthen. Apply a layer on both sides of the item.
Prevention is better than cure! While leather is an organic substance, it can no longer repair itself or produce oils. Once the leather sustains extreme damage, it may be beyond saving!
Over oiling will do more harm than good, as it can cause the leather to rot. If the oil remains on the surface, it’s a sure fire sign the leather is saturated. If this happens, wipe the excess away and avoid oiling until needed.
Mould
Mould loves warm, damp, dark conditions! If left for a period of time, mould can root into the leather and cause some serious damage. Like a piece of fruit that’s gone bad can effect the rest of the bowl, mouldy leather spreads spores. If you spot a mouldy item, remove and clean it as soon as you can.
Wipe the mould down with warm water. Using a Tack Cleaning Spray will prevent the regrowth of mould due to its anti-bacterial properties. Badly effected tack will need numerous cleans to remove the mould. Once mould takes hold, it will penetrate to the core of the leather so it can never fully be removed. However, regular cleaning will keep the spores dormant.
Storage
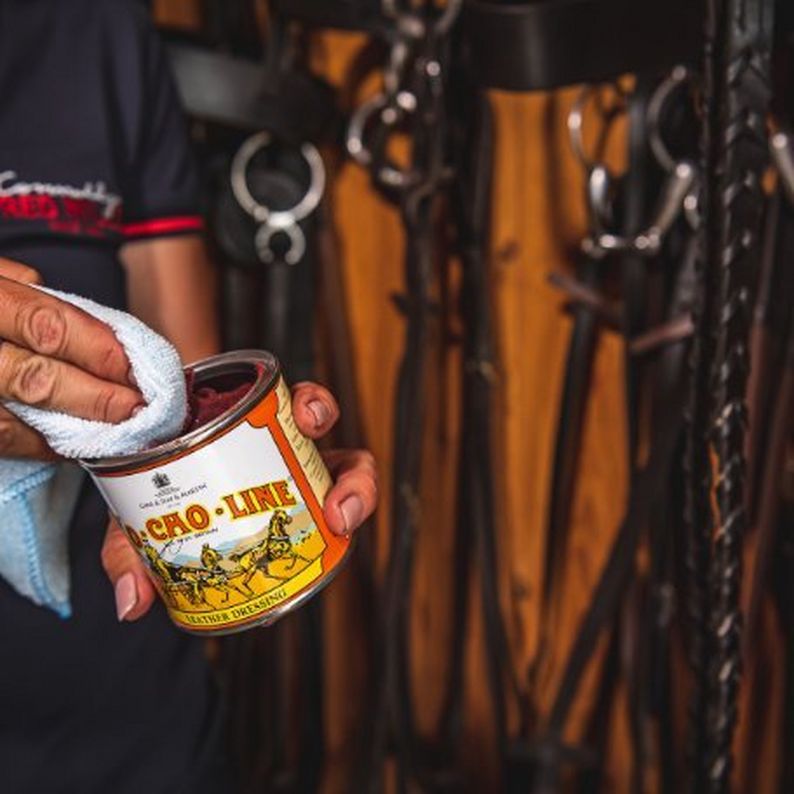
Whether your horse is having a break or your packing away your posh tack ready for the next competition season, it’s really important to ensure it’s stored correctly. To prevent damage, we’d recommend applying a layer of Ko-Cho-Line. This thick, pink grease is specially formulated to prevent drying, mould, and rust, without causing rotting. Before packing your tack away, apply a thin layer. Leave this to soak in for approximately 12 hours before wiping off any residue.
Ko-Cho-Line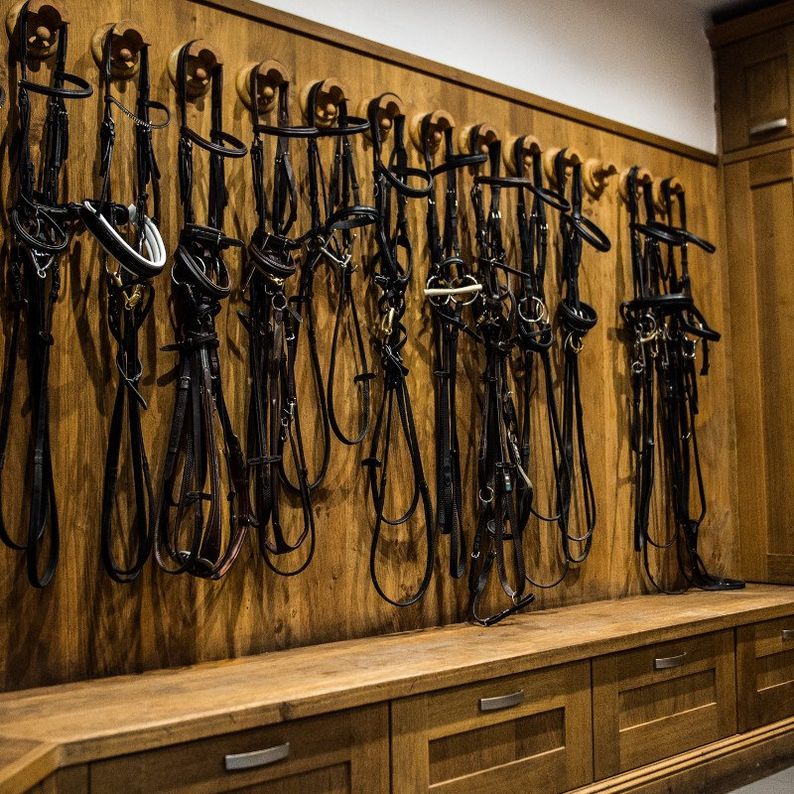
As riders, there’s no more satisfying room than a clean, tidy, well stocked tack room! More than just aesthetically pleasing, it’s efficient too, saving you time and keeping your equipment in fantastic condition! Take a look at our top tips for the perfect tack room:
- Add dehumidifiers to prevent damp, 30-40% humidity is ideal.
- Ensure good ventilation.
- Keep the room light but avoid direct sunlight as this will dry out the leather causing it to age and fade.
- Don’t allow the room to drop below 5°C.
- Invest in a washing machine so that saddle pads, fly veils, boots and rugs can be cleaned before storage.
- Always hang bridles on rounded hooks to maintain their shape.
- Use saddle racks to keep tack off the floor.
- Use saddle bags or covers for extra protection.
- Hang headcollars, girths, breastplates, martingales and training aids on hooks.
- Store saddle pads on blanket racks.
- Use stable tidies for boots, fly veils and other bits and bobs!
- Keep your grooming kit in a bag or box.
- Invest in a dedicated container for tack cleaning equipment.
Tack Care Take Away Tips
- Before cleaning, find out what type of material you have.
- Always follow manufacturers guide-lines.
- Do not apply direct heat to leather, allow to dry naturally.
- Apply conditioners little and often.
- Thoroughly clean your tack often to prevent mould.
- Wipe over your tack after every use – especially the bit!
- Store correctly.
- Cover any leather items during long periods of storage.
- In wet weather ride in a waterproof saddle cover or long coat to protect the saddle.
- When putting tack back together: buckles face the outside and billet hooks face inwards.
Now you know Why it is important to clean your tack, How to clean and store it and When to clean it, you have no excuse! Kit yourself out with everything you need to make your tack sparkle. Years down the line you'll be glad you did, when your tack is still going strong. Shop our Tack Care range here.

You can shop all of the products in this blog and many more at www.naylors.com or in-store. Don’t forget, if you make a purchase share your pictures with us in the comments or include #NaylorsSnapAndShare on your social posts for the chance to win a Naylors gift card!